A blank wall above the sofa is the first thing anyone sees in a small living room. In a rental, it can feel like the one thing you’re not allowed to fix.
You can, and it doesn’t take a dozen nail holes or a gallery budget. These gallery wall ideas for a living room each come with a cost tier and a straight renter answer, and most of them need no nails at all.
First pick a layout, then plan it on paper, then fill the frames for less. A quick size guide near the end gives you the heights and gaps to aim for.
Quick take
- Biggest impact for the least money: free public-domain art and things you already own, framed (#10 and #11).
- Renter-safe picks with no nails: #5, #6, #8 and #12.
- Three numbers worth knowing: the center of the group at 57 to 60 inches from the floor, 6 to 8 inches above the sofa back, and 2 to 3 inches between frames.
- Plan with paper templates before you hang anything (#6).
Choose a Layout That Fits Your Wall
1. Start With a Simple Grid
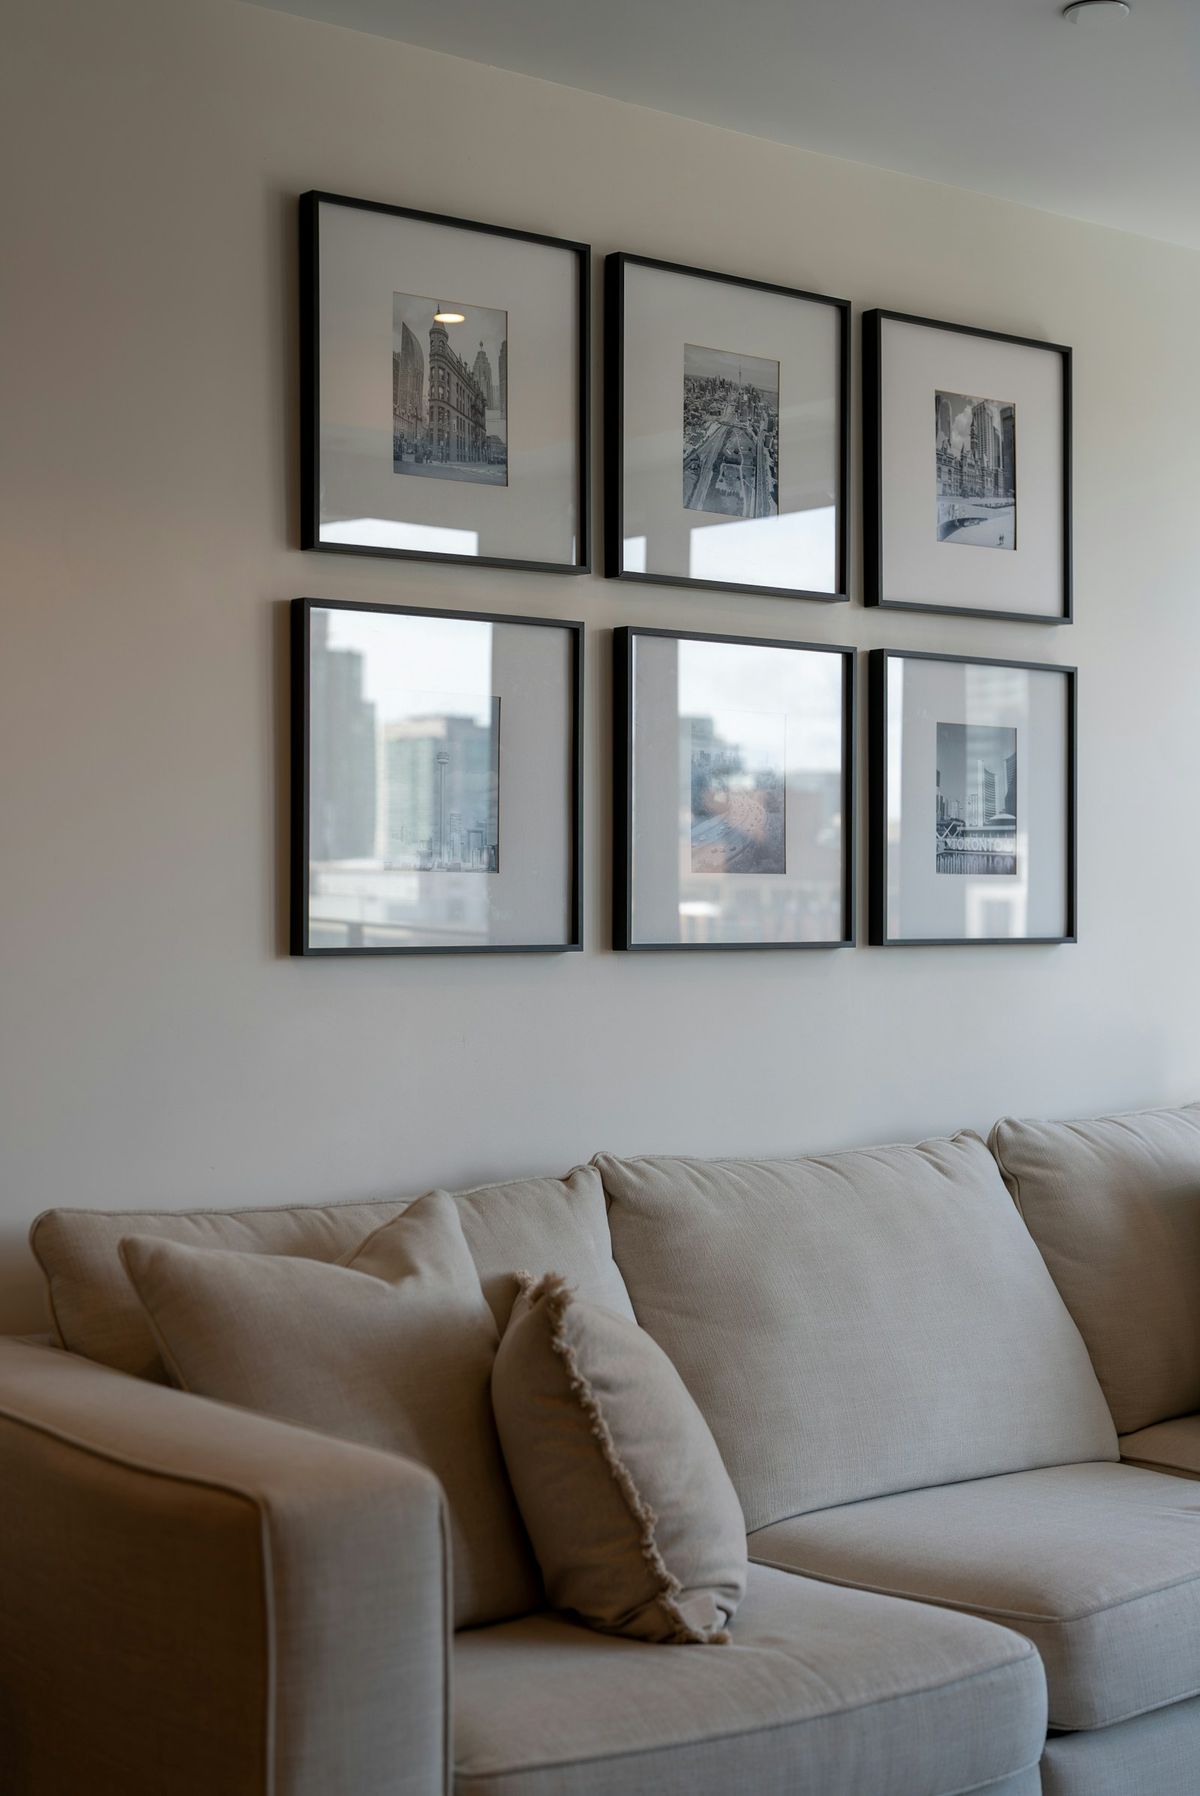
A grid of matching frames is the calmest gallery wall there is, which makes it a good fit for a small room that already holds a lot. Every frame lines up, so the group reads as one big piece.
Use four, six or nine frames of the same size and color, with the same mat. Keep the gaps identical in both directions and the outer edges straight. Black-and-white photos or prints in one color family keep it quiet, while a single bright color across all of them makes it bolder.
Cost: $$ · Renter-friendly: Yes, with adhesive strips for light frames. Nails need your landlord’s OK.
Small-space trick: a grid that’s taller than it is wide makes a low ceiling look higher.
2. Go Salon-Style for a Collected Look
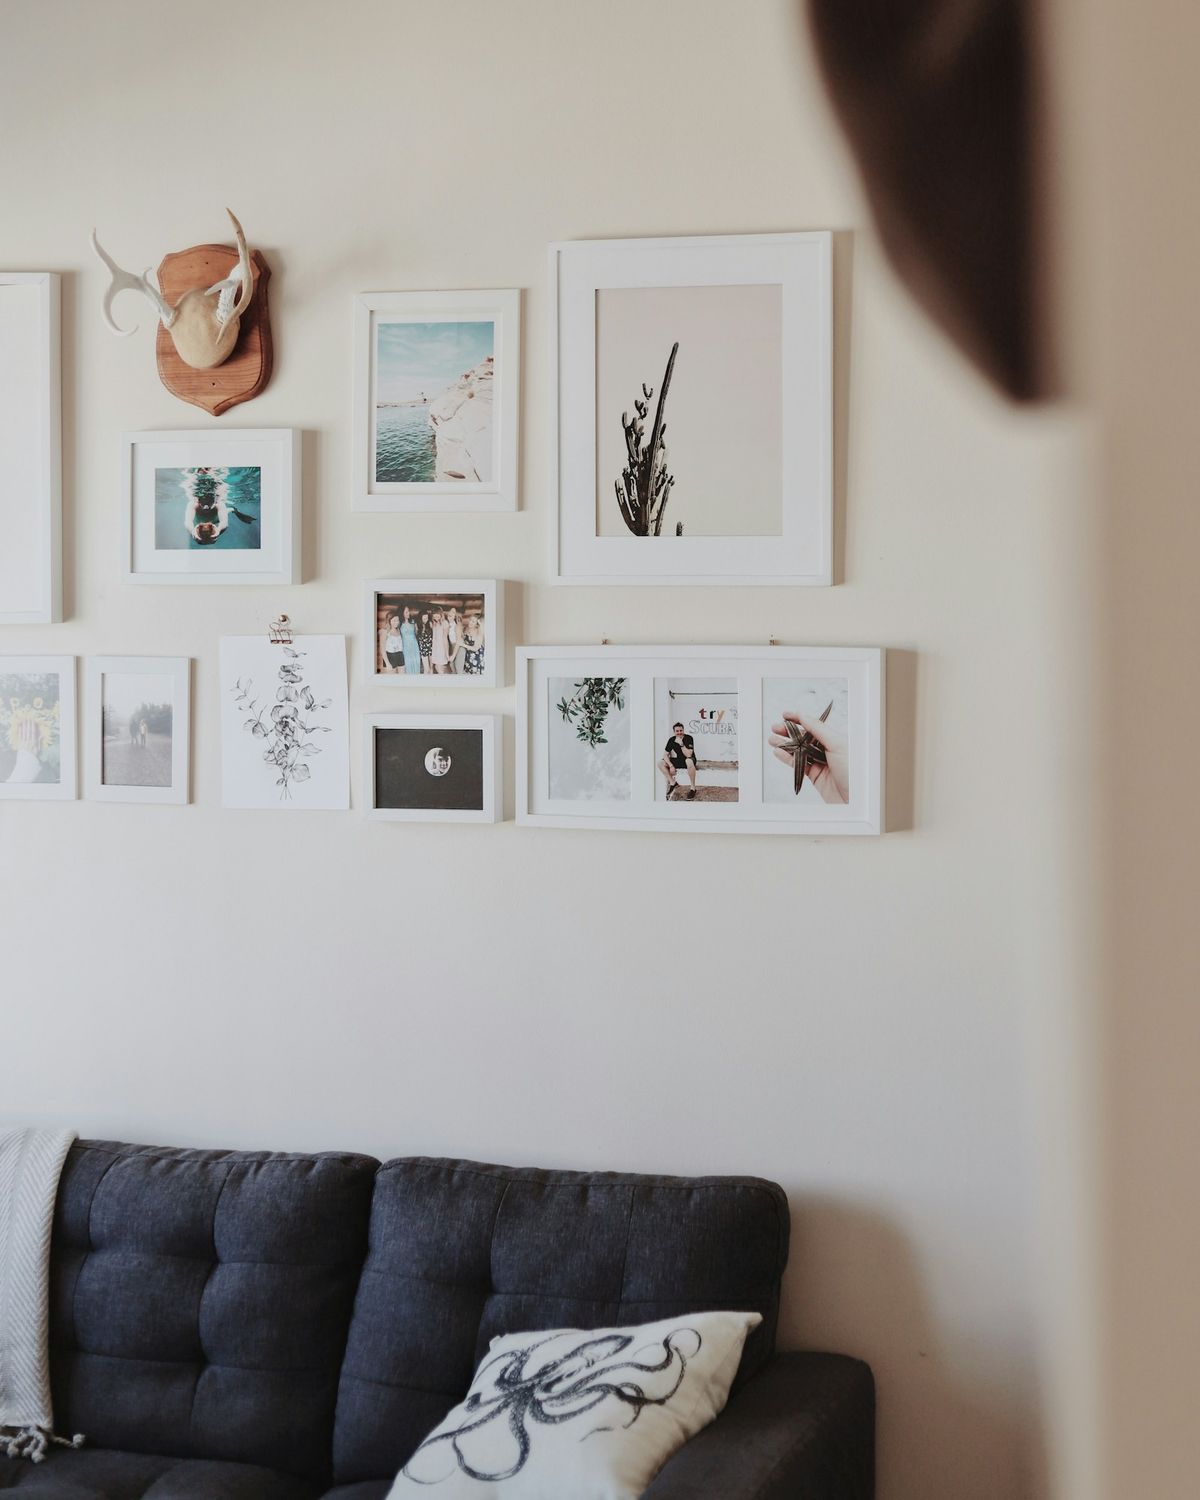
A salon wall mixes sizes and shapes, as if the pieces were gathered over years. It hides mismatched frames well, and it’s easy to grow one frame at a time.
Start with your largest piece slightly off center, then build outward with smaller frames. Keep the gaps consistent even though the sizes vary, and keep the outer edge loosely rectangular so the group still feels anchored to the sofa below it.
Cost: $ to $$ · Renter-friendly: Yes, with strips rated for each frame’s weight
Budget tip: mix in a few non-frame pieces, like a small mirror, a woven plate or a pressed leaf, so you need fewer frames.
3. Stack Frames in a Narrow Spot
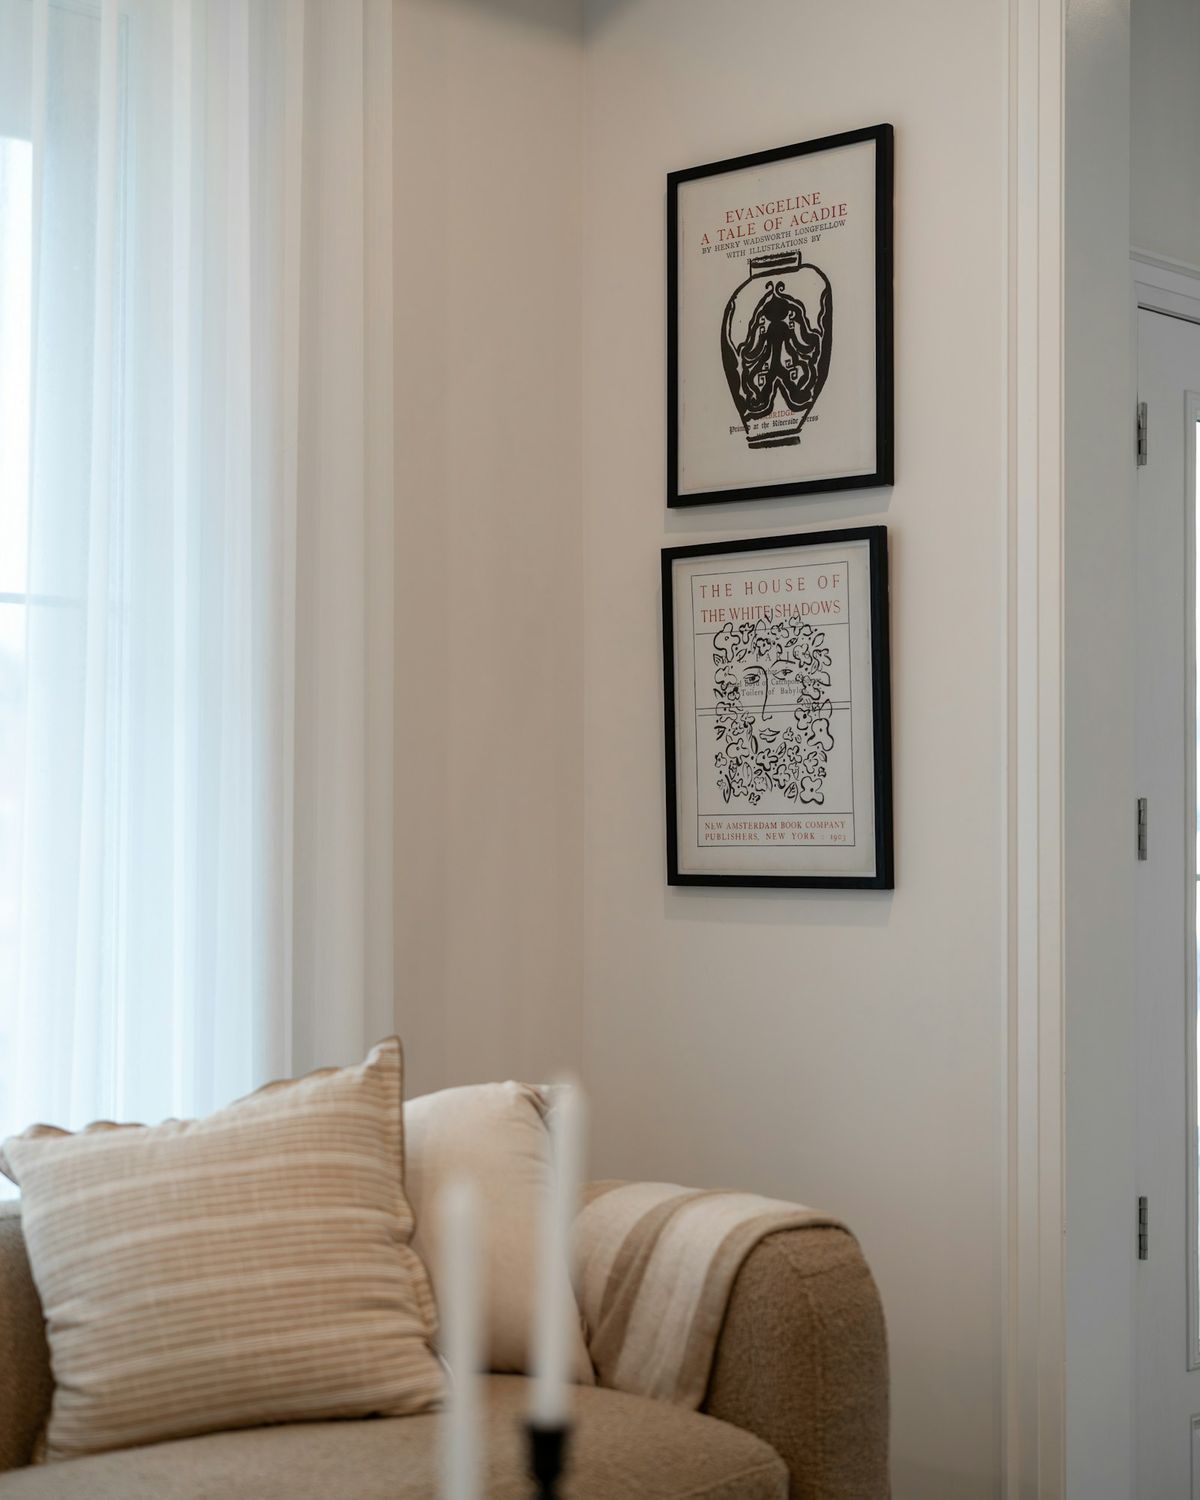
Small living rooms are full of awkward strips of wall: between a window and a corner, beside a door, next to a bookcase. Those spots are too narrow for a grid, but perfect for a vertical stack.
Hang two or three frames of the same width in a column, centered on the wall strip. Matching frames make the stack look intentional. It draws the eye up, which helps a room with low ceilings.
Cost: $ · Renter-friendly: Yes, with adhesive strips for light frames
Good to know: line the stack up with something nearby, like the window frame or the edge of the sofa, so it doesn’t look like it’s floating.
4. Swap Nails for Picture Ledges
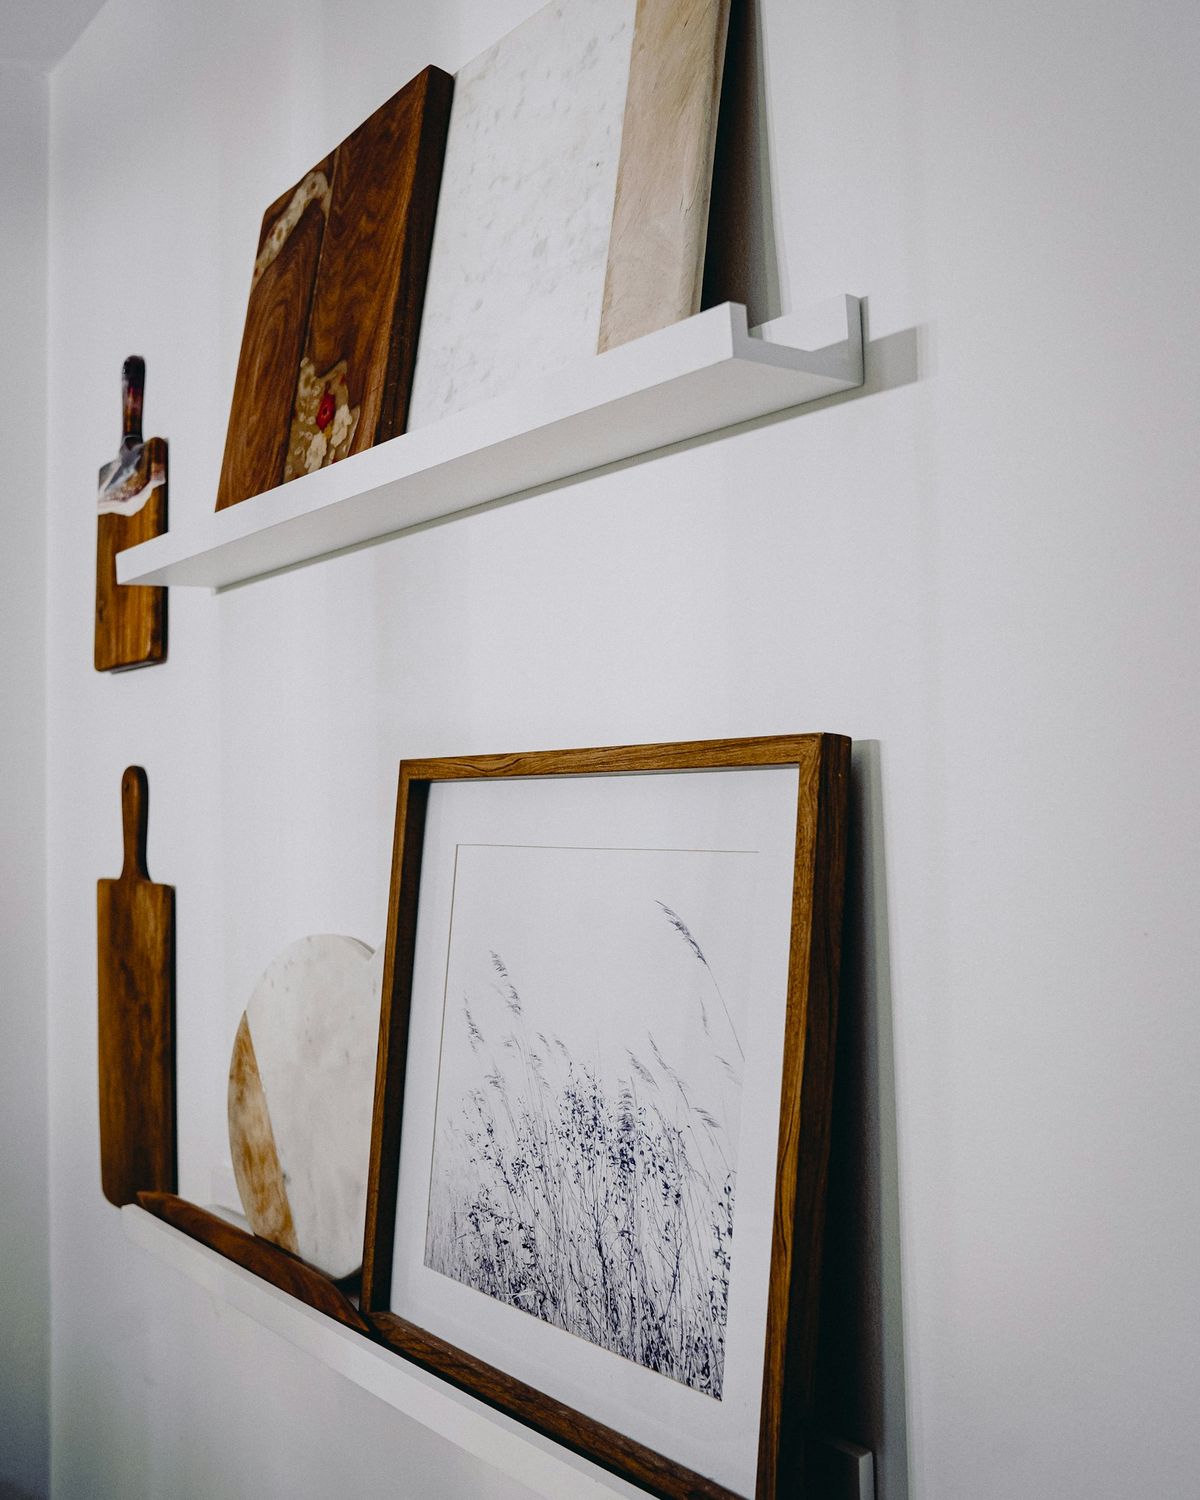
A picture ledge is a narrow shelf with a lip that holds frames upright. One ledge replaces the nail holes of half a dozen frames, and you can rearrange the art whenever you like.
Two long ledges above a sofa, one above the other, make a full gallery wall. Overlap the frames slightly and mix heights so it looks relaxed. Layer in a small plant or a cutting board for texture, and keep anything heavy toward the middle of the ledge.
Cost: $ to $$ · Renter-friendly: Ask your landlord, since a ledge needs a few screws. It still leaves far fewer holes than separate frames.
Renter tip: fill the screw holes with a dab of spackle when you move out, and they’re hard to spot.
5. Lean Art on a Console or Dresser
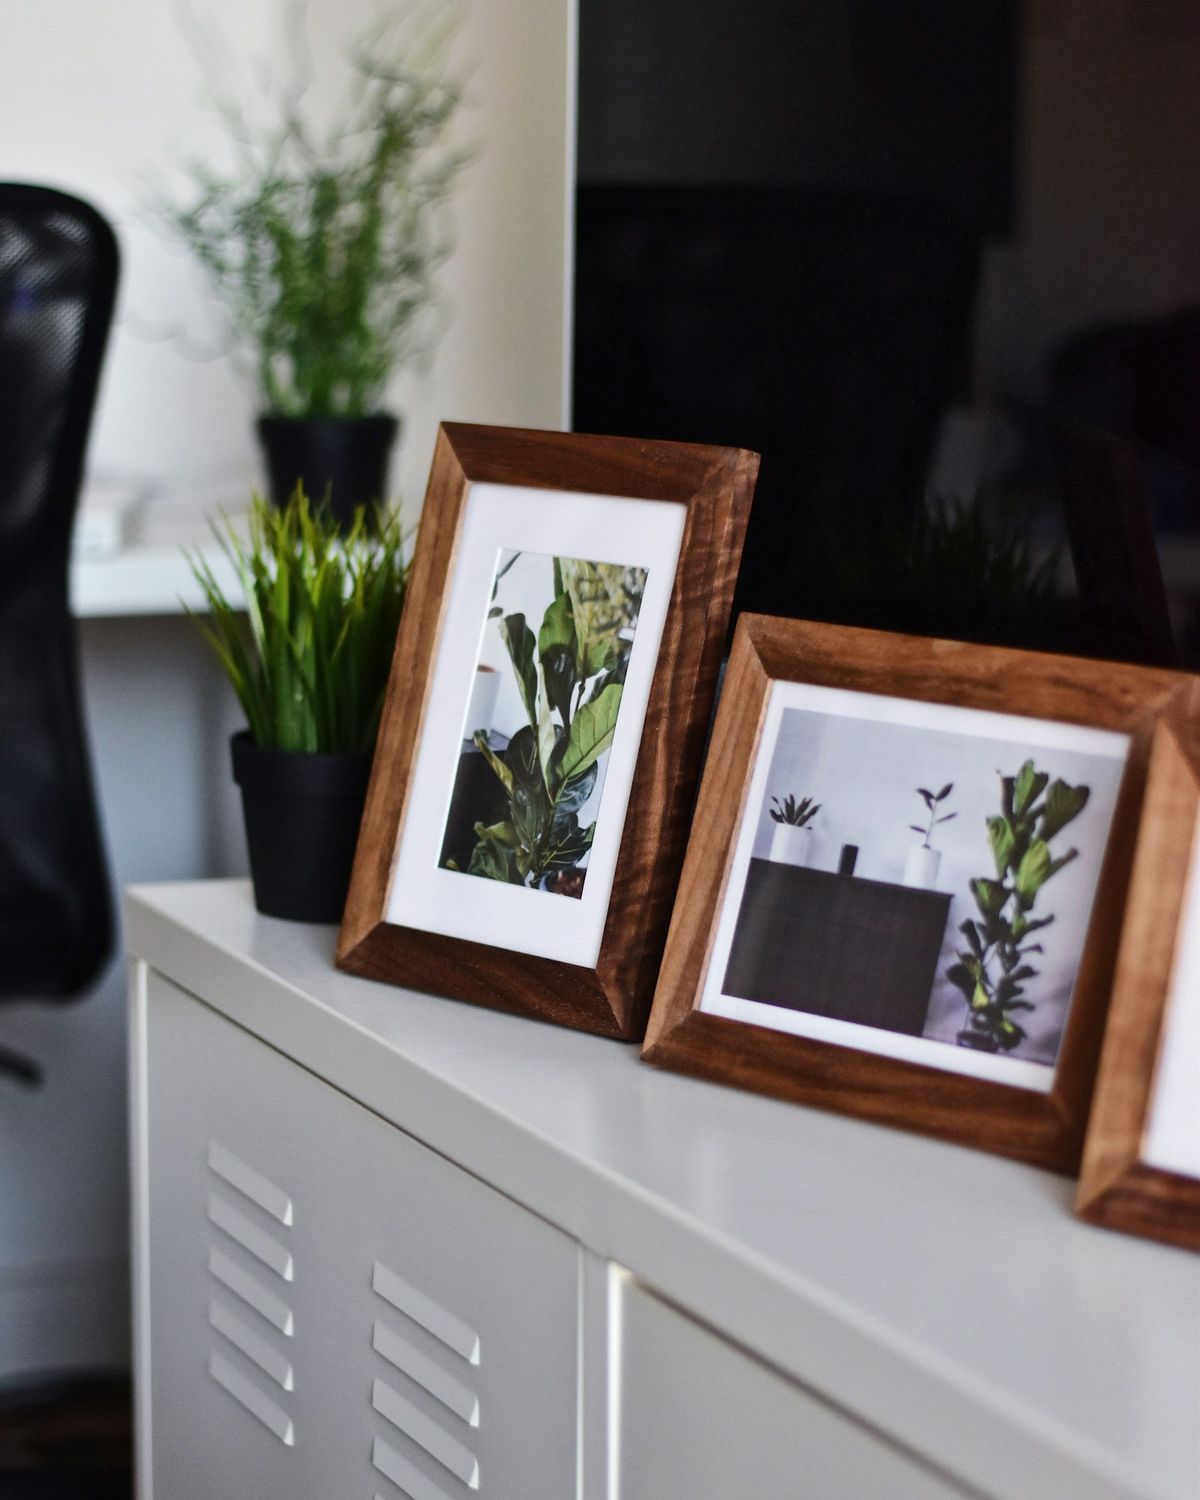
The most renter-proof gallery wall doesn’t touch the wall at all. Art leaned on a console table, a dresser or a long shelf gives you the same layered look with zero holes.
Lean one tall piece at the back, then layer a smaller frame in front of it, slightly to the side. Add one object, like a lamp, a plant or a small stack of books, to tie the group together. Odd numbers of items tend to look more natural than pairs.
Cost: Free to $ · Renter-friendly: Yes, no holes at all
Best for: renters who move often. The whole display packs into one box.
Plan It Before You Hang It
6. Lay It Out on Paper First
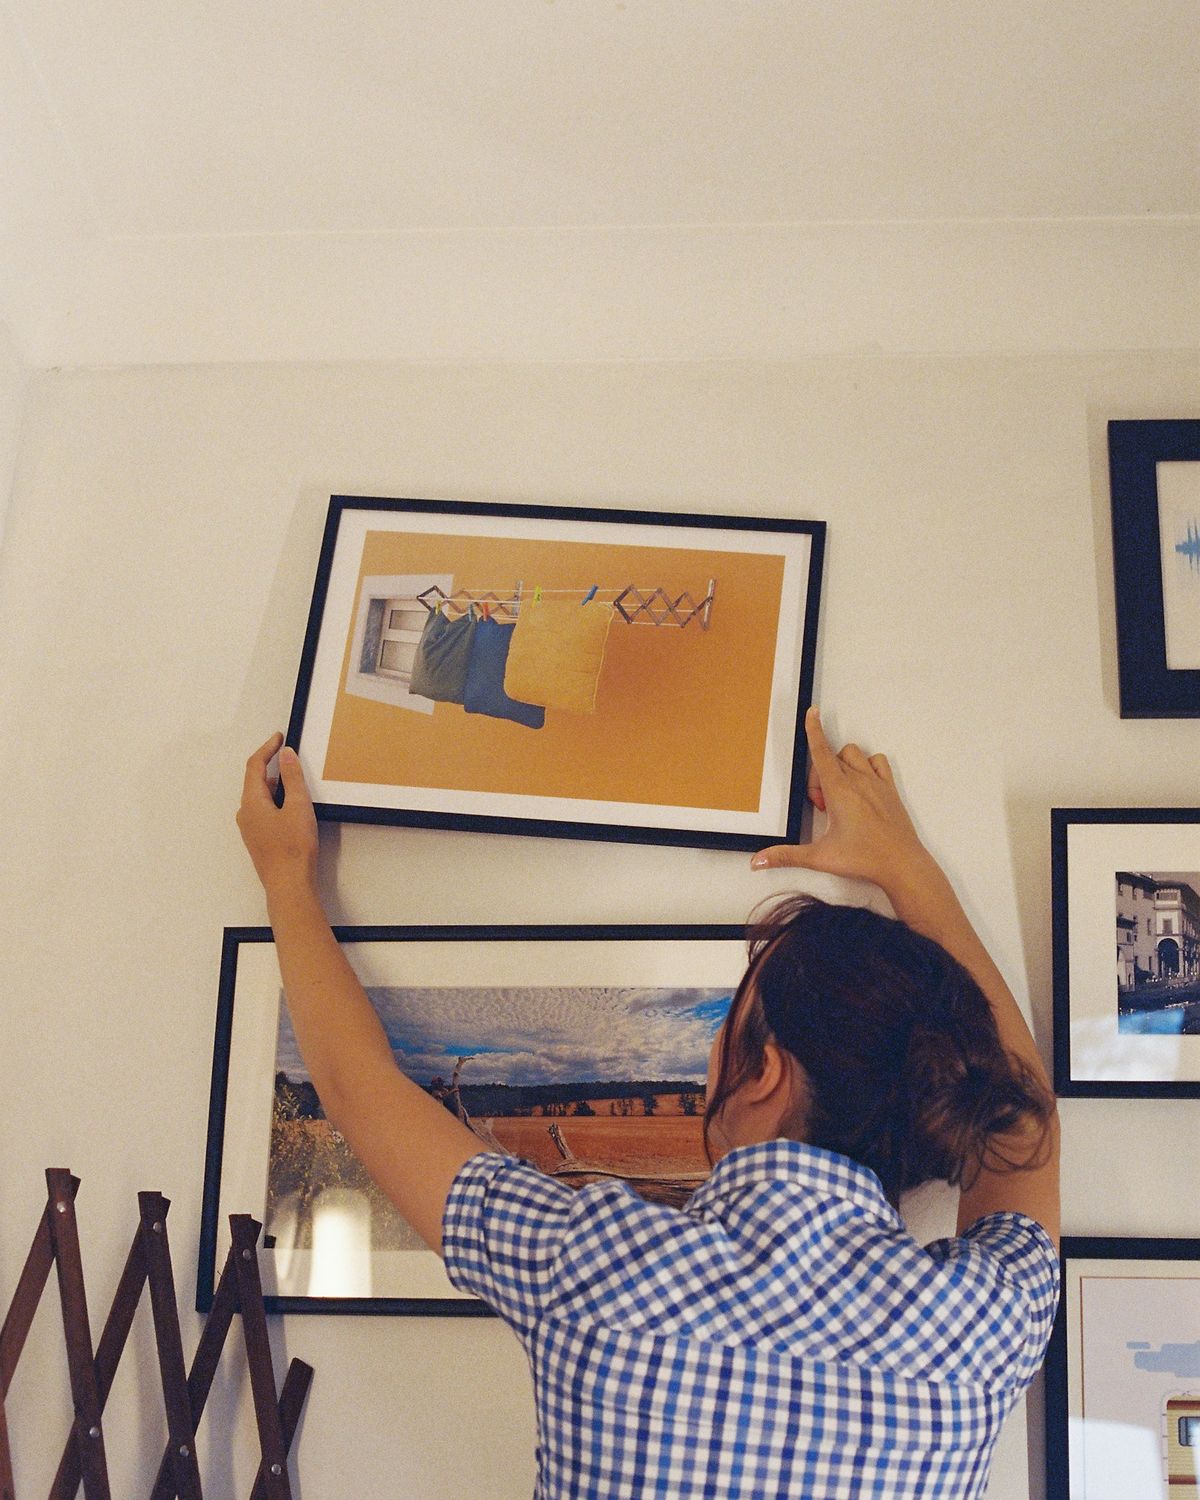
Most gallery walls go wrong at the hanging stage, when a frame turns out too high or a gap too wide. Paper templates catch that before you make a single hole.
Frameology’s gallery wall guide suggests laying the frames out on the floor first, photographing the layout, then cutting paper to the exact size of each frame and fixing the templates to the wall to test it. Mark where each hanger sits on the paper, and you’ll know exactly where it goes.
Cost: Free · Renter-friendly: Yes, with painter’s tape
DIY it: use old wrapping paper or grocery bags for the templates. Write the frame size on each one.
7. Get the Height and Spacing Right
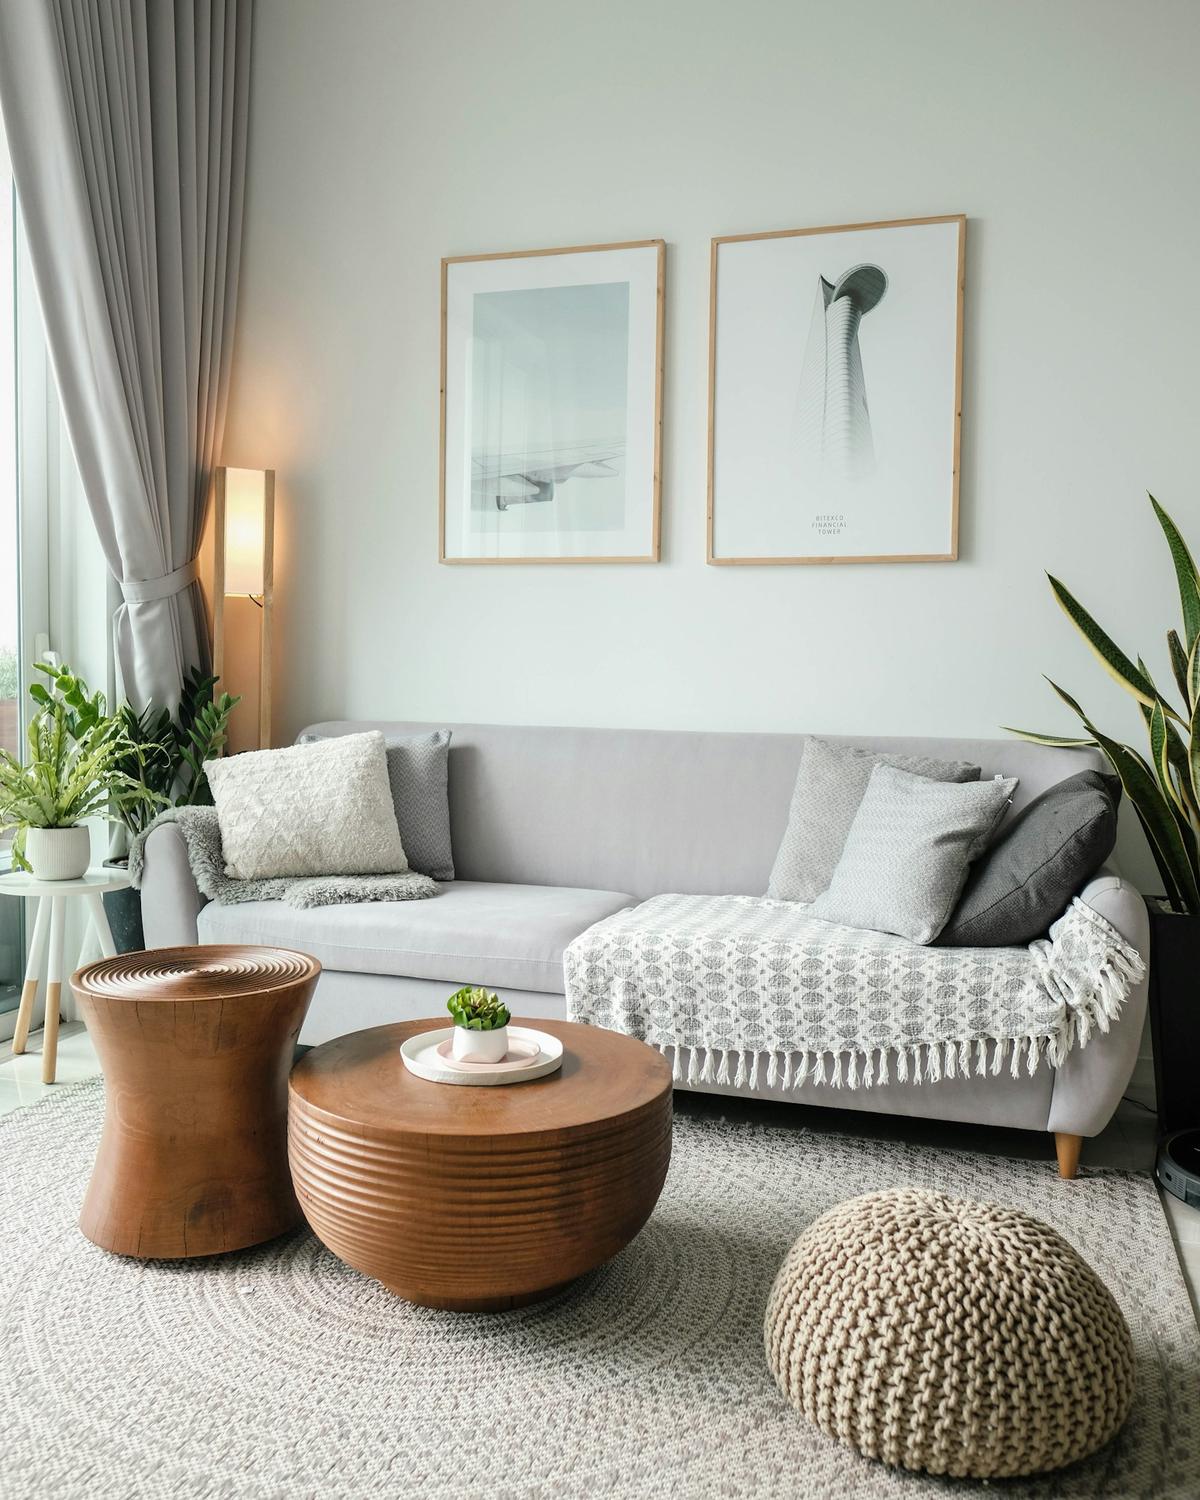
Hung too high, art floats away from the furniture. Hung too low, it looks squashed. Three numbers fix most of it.
Frameology puts the center of the whole arrangement at 57 to 60 inches from the floor, roughly eye level, and suggests a 6 to 8 inch gap between the sofa back and the lowest frame. It also recommends keeping 2 to 3 inches between frames, and making the group about 60 to 75% as wide as the sofa below it.
Cost: Free · Renter-friendly: Yes
Pro tip: cut a small piece of cardboard to your chosen gap and use it as a spacer between frames while you hang.
8. Hang Frames Without Nails
Adhesive picture-hanging strips hold frames flat against the wall and come off without a hole when you pull the tab. For light frames, they’re the easiest renter-friendly option.
Strength depends on the size of strip. Command’s product pages rate four pairs of its medium strips at 10 to 12 pounds, depending on the pack, for frames up to 18 by 24 inches. Weigh each frame on a kitchen or bathroom scale, use enough strips for it, and follow the package steps, including cleaning the wall first.
Cost: $ · Renter-friendly: Yes, with removable strips
Skip it if: the frame has glass and is large or heavy. A picture ledge or leaning the piece is the safer choice.
Fill the Frames for Less
9. Mix Frames, but Keep One Common Thread
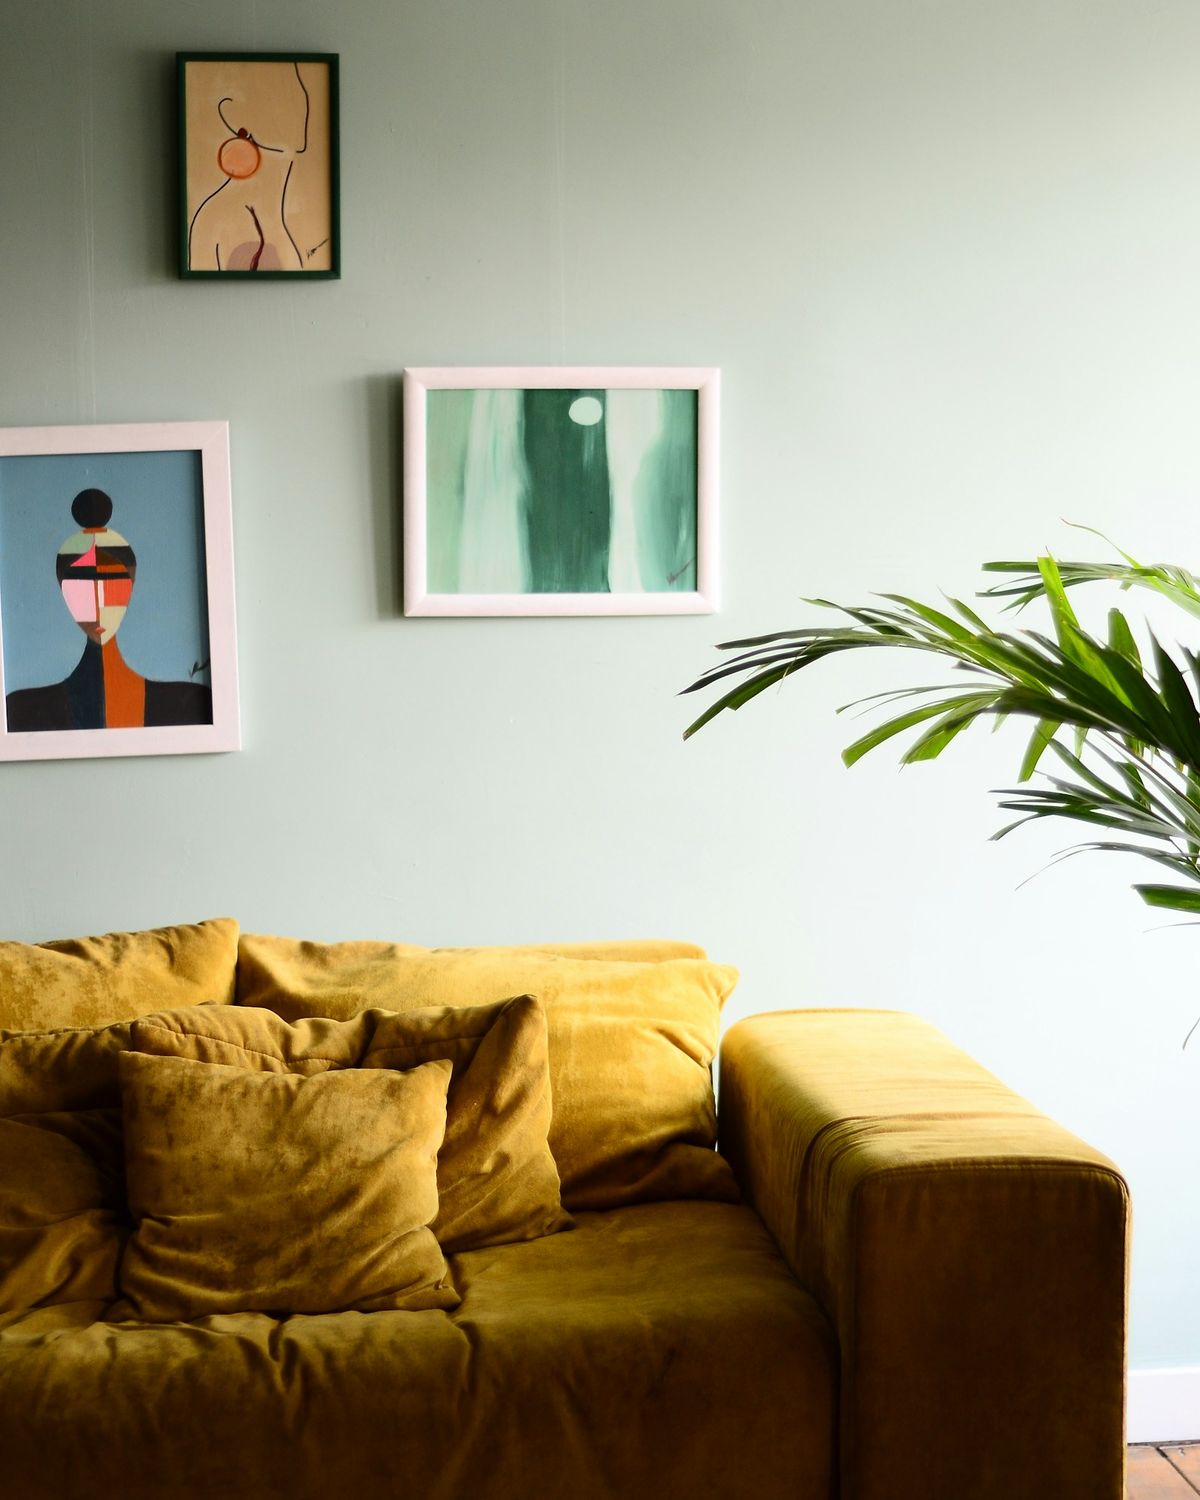
Mismatched frames from thrift stores and old moves can look great together, as long as something links them. Without a common thread, the wall looks random rather than collected.
Pick one thing to repeat: a color that shows up in every print, the same mat color, or frames in just two or three finishes. Frameology suggests capping frame finishes at three for a cohesive look. A can of spray paint can also bring odd frames into one color.
Cost: Free to $ · Renter-friendly: Yes
Small-space trick: pull the common color from something already in the room, like a pillow or the rug, so the wall feels part of the space.
10. Download Free Public-Domain Art

Art doesn’t have to cost much. Several major museums share images of old artworks that are in the public domain, free to download and print.
The Met’s Open Access program releases images of public-domain works for free use, including commercial use, and marks them with an “OA” icon. Botanical drawings, old maps and landscape paintings all print well at home sizes. A local print shop can print them on good paper for little money.
Cost: Free to $ (printing) · Renter-friendly: Yes
Good to know: “free printable” art from other websites isn’t always free to use. Check the license or terms on every file before you print it.
11. Frame What You Already Own
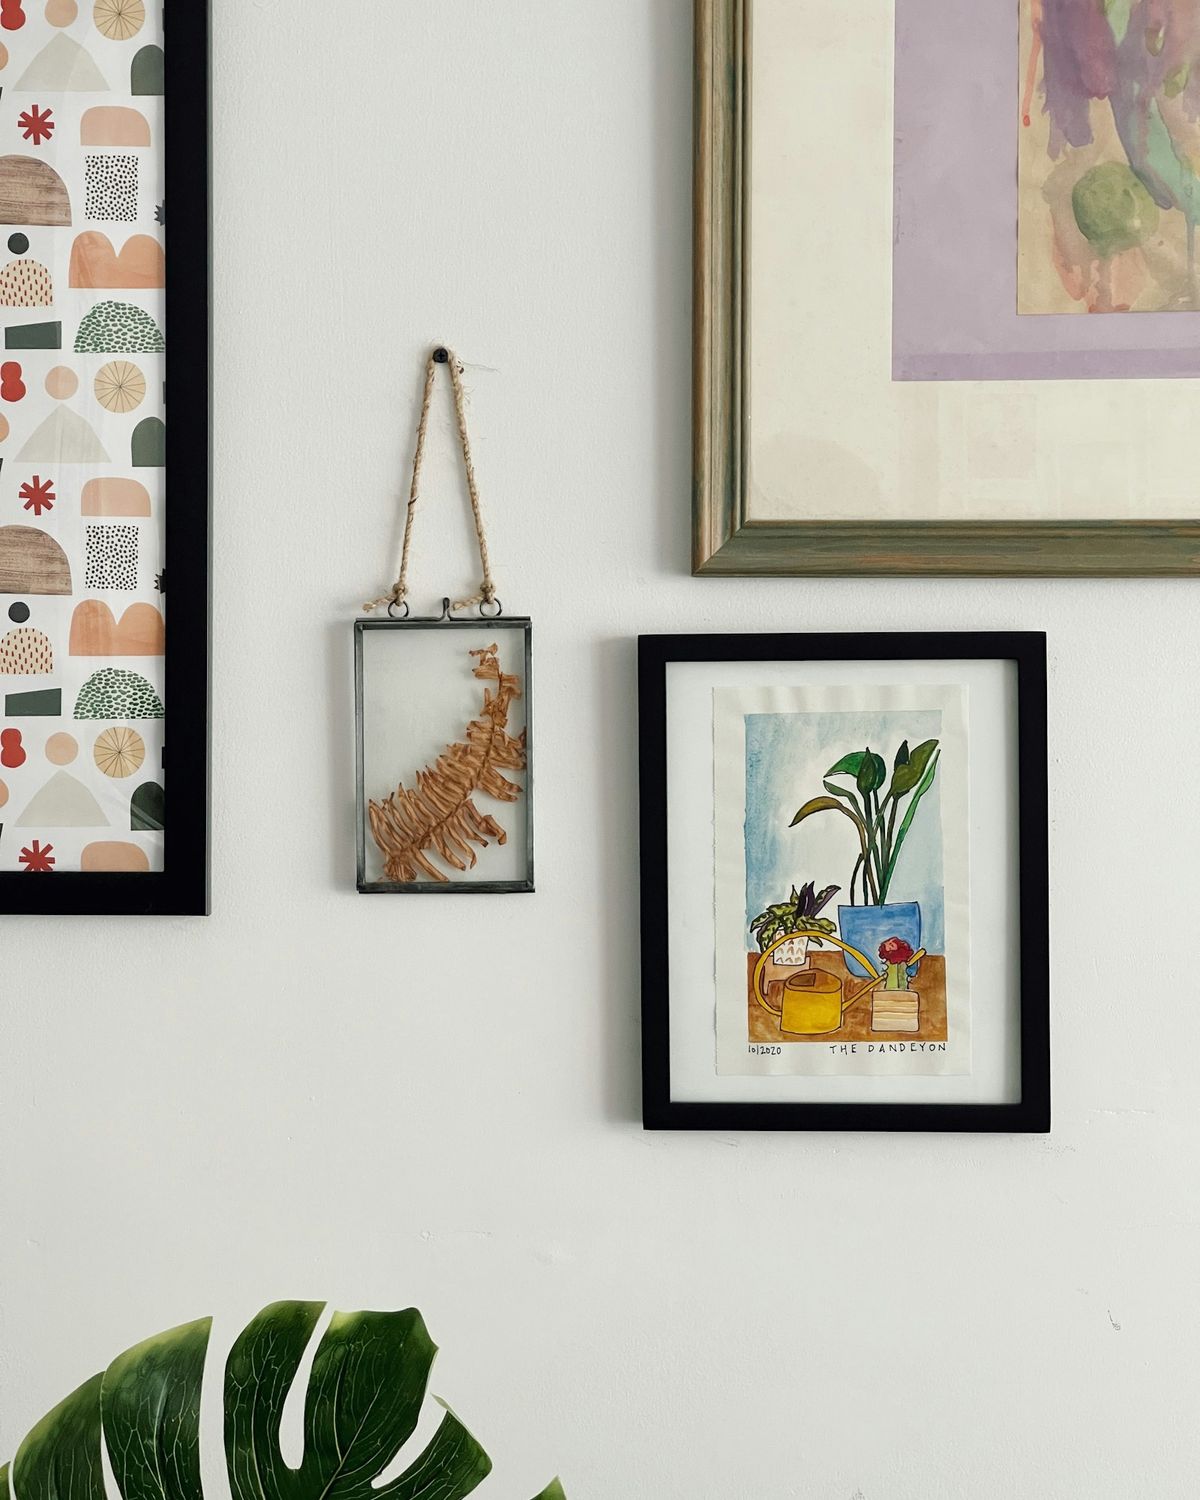
The most personal pieces on a gallery wall often cost nothing. Pressed leaves, a postcard from a trip, a child’s drawing or a scrap of patterned fabric all look like art once they’re framed.
Glass “floating” frames suit flat natural things like leaves and flowers, because the wall shows through around them. Keep the mats light and the frames simple so the everyday object becomes the star. Mix one or two of these with prints so the wall has a story.
Cost: Free to $ · Renter-friendly: Yes
Budget tip: secondhand stores sell framed art cheaply. Keep the frame, swap the picture.
12. Tape Up Prints Before You Commit
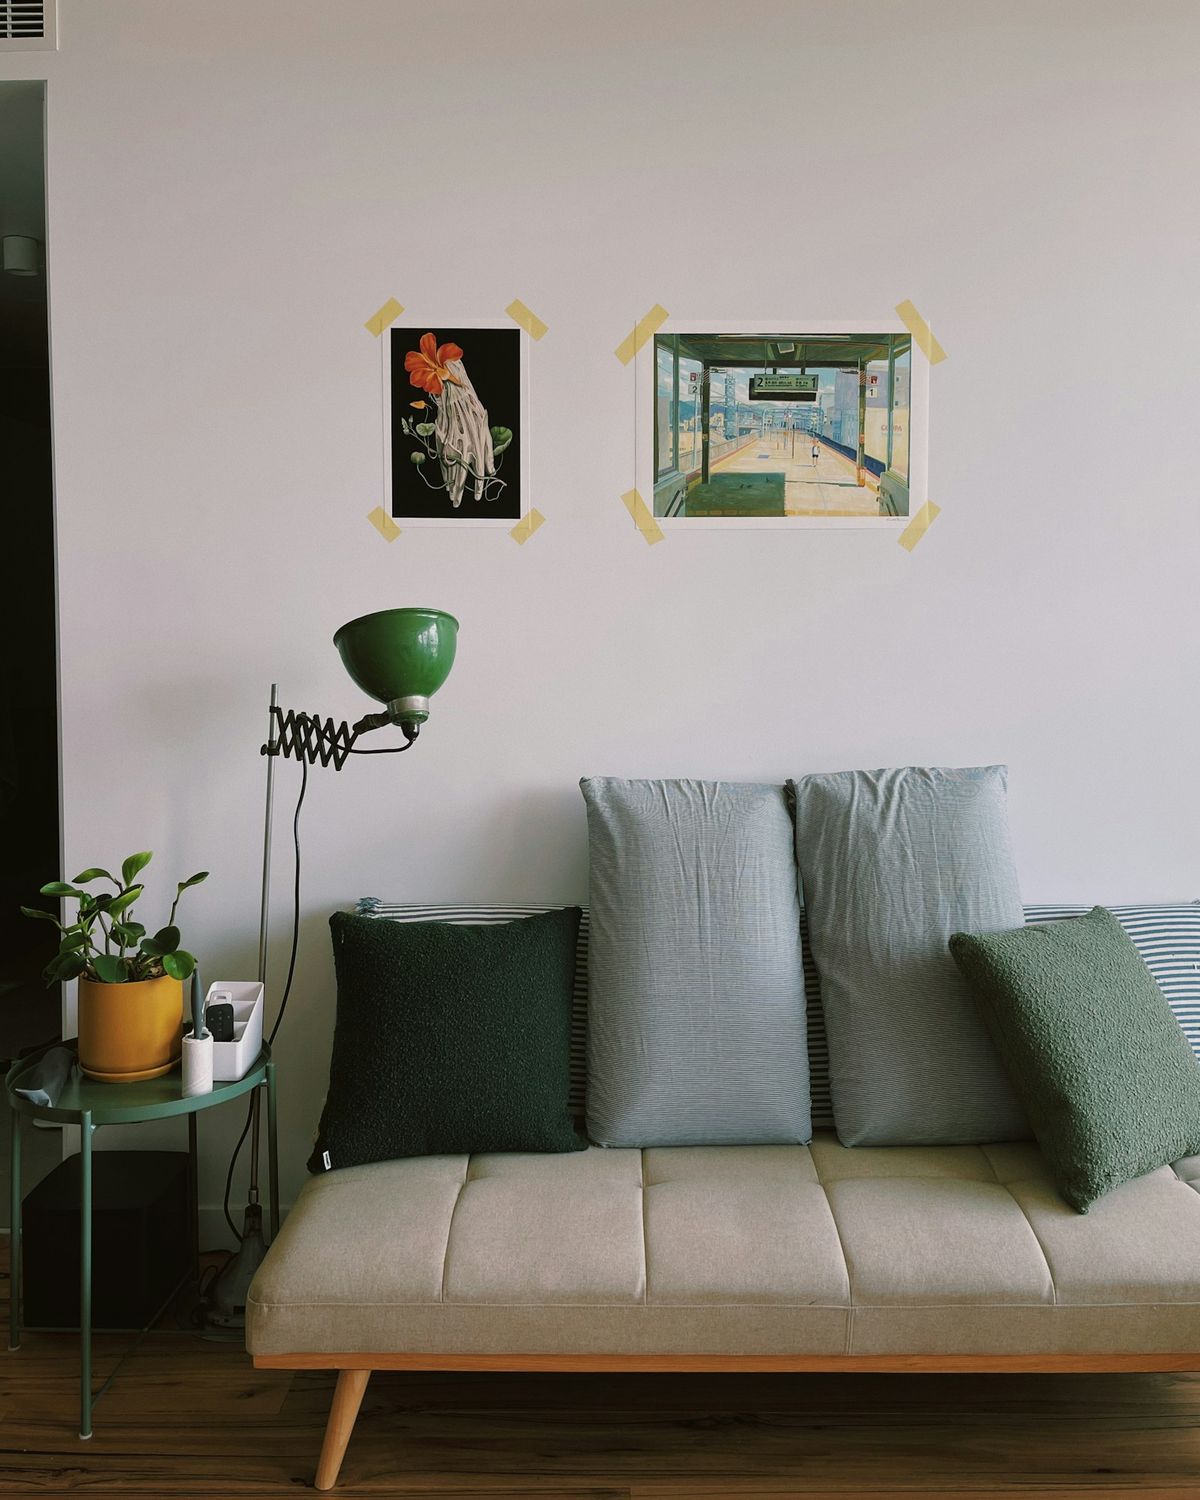
Not sure what you want yet? Start with no frames at all. Prints taped to the wall look casual and fresh, and they let you test a layout for weeks before you buy anything.
Use washi tape or another low-tack tape on the corners, and try a small piece on a hidden part of the wall first to make sure it peels off cleanly. Swap prints whenever you like, and frame the ones you still love a month later.
Cost: Free to $ · Renter-friendly: Yes, with low-tack tape tested first
Renter tip: peel tape slowly at a low angle. That’s the gentlest way on painted walls.
Gallery Wall Ideas for Your Living Room: Size Guide
| What | Rule of thumb | Source |
|---|---|---|
| Center of the whole group | 57–60 inches from the floor | Frameology |
| Gap above the sofa back | 6–8 inches (under 4 feels cramped, over 12 looks disconnected) | Frameology |
| Space between frames | 2–3 inches, kept the same throughout | Frameology |
| Width of the group | 60–75% of the sofa below (about 43–54 inches over a 72-inch sofa) | Frameology |
| Frame finishes | Three at most for a cohesive look | Frameology |
| Medium adhesive strips | Four pairs rated 10–12 lb depending on the pack, frames up to 18 x 24 inches | Command |
Start Here: 3 Ideas for Any Budget
- Free: lay it out on paper (#6), then tape up prints you already have (#12). You’ll know what you like before you spend anything.
- Under $50: print a few public-domain artworks (#10) and put them in thrifted frames painted one color (#9).
- Under $150: two picture ledges above the sofa (#4). They hold a full gallery wall and let you change it anytime.
FAQ
How high should a gallery wall be above a couch?
Leave about 6 to 8 inches between the top of the sofa back and the lowest frame, and aim for the center of the whole group at 57 to 60 inches from the floor, as Frameology’s guide suggests. Adjust a little for a very tall or very low sofa.
Can I make a gallery wall in a rental without nails?
Yes. Use adhesive picture-hanging strips rated for each frame’s weight, lean art on a console or dresser, or tape unframed prints up with low-tack tape. Test any adhesive or tape on a hidden spot first, and ask your landlord before you add screws for picture ledges.
How much does a gallery wall cost?
It can be almost free. Public-domain art and things you own cost nothing to frame except the frames, and thrifted frames are cheap. New matching frames for a six-frame grid usually land in our $25 to $100 tier.
How far apart should pictures be on a gallery wall?
About 2 to 3 inches, and the same gap everywhere. Frameology notes that gaps over 4 inches make a layout feel disconnected, while gaps under 2 inches look cramped. A cardboard spacer cut to your gap keeps it even while you hang.
How wide should a gallery wall over a sofa be?
Roughly 60 to 75% of the sofa’s width. Over a 72-inch sofa, that’s a group about 43 to 54 inches wide. Measure the sofa first, then plan the frames to fit that width.

